New to Zoom? Looking for a refresher on how to join our online classes? This Quick Start Guide will help you step-by-step launch Zoom and join a virtual class.
Step 1. Find Your Class
Browse our online classes via the Live schedule. Once you find a class you want to attend, click to Join Class. After clicking to join you will need to input your member information to receive the class link.
Members can add classes to their calendar for a friendly reminder, however, you will need to provide your info before joining.
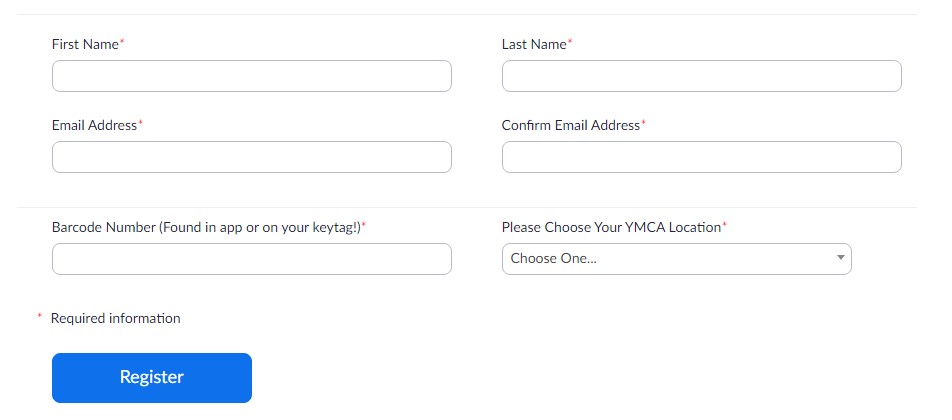
Step 2. Provide Your Member Info
Before entering each class you will need to provide your name, email address, barcode # and home Y location.
Why? We want to verify only members are gaining access to our exclusive online classes. We review all participant information prior to entry.
Step 3. Open Zoom
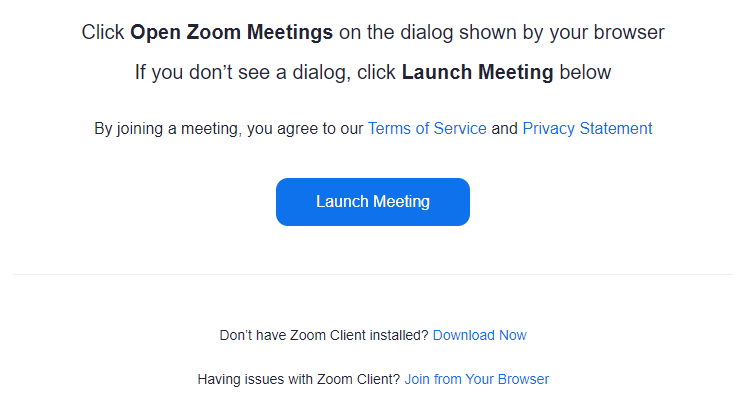
For computer and tablet users you can join through the Zoom application or in your web browser. For those who have not installed the application, Zoom will provide prompts to do so on your first attempt to enter a class. Members will be prompted to launch the application before each class. Clicking to launch the meeting will open the Zoom application if the program is installed. If the program is not installed, clicking the launch meeting button will show the option to join via web browser.
If joining on a smart phone, you will have to install the Zoom application.
You do not need a Zoom account to use Zoom on any device.
Step 4. Connect Audio
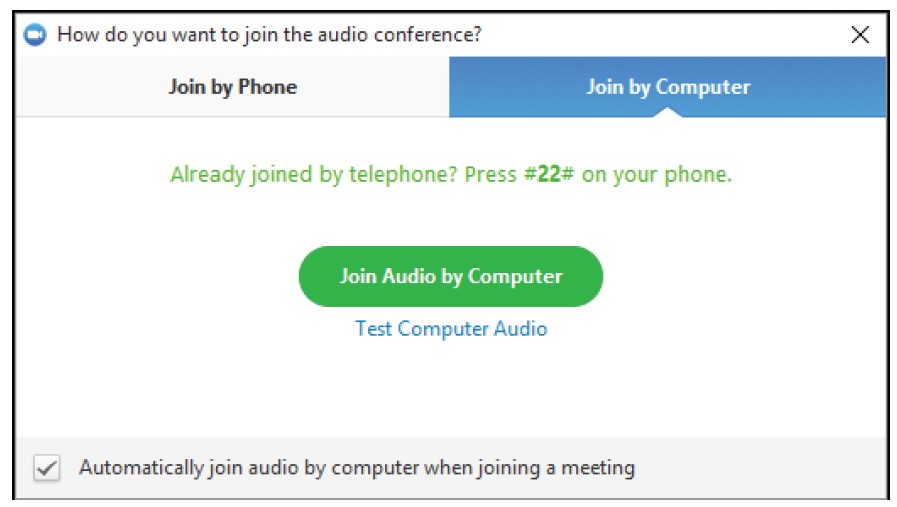
Regardless of your device you will be asked to join the meeting audio. You can join via the web from any device. Members can also use their phones to call into the audio if needed.
We recommend you join the meeting audio in case you want to ask a question. Your microphone will be muted by default. If this is your first time using Zoom you will need to give permission for Zoom to access your microphone.
Step 5. Start Video
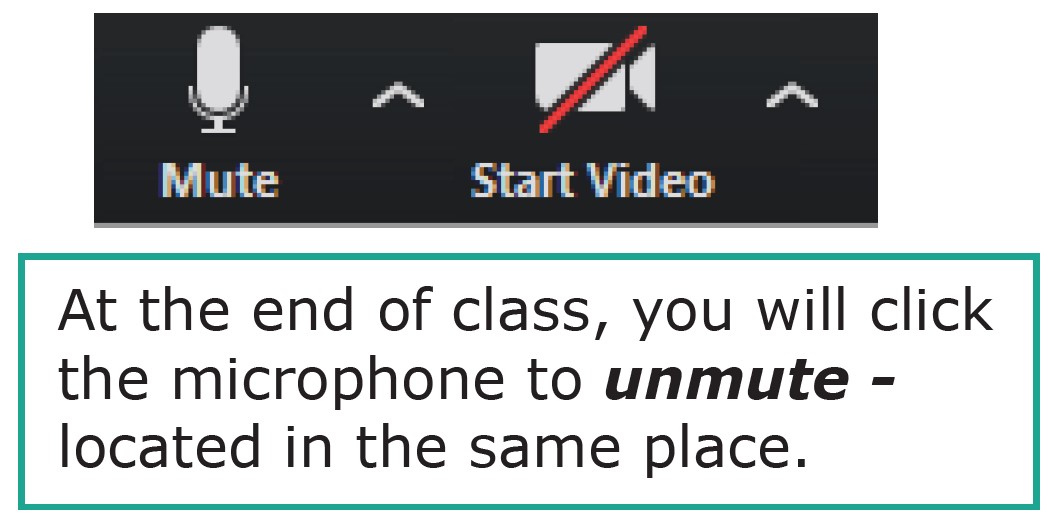
You will be muted during class, but you can turn on your video. Depending on your device the Zoom tool bar may be in a different location, however, the same features will be available to you regardless of how you join. Find the camera button to start your video.
Clicking the camera button will start your video. If there is a line through the camera button that means your video is off. To use your camera you will need to provide permission to Zoom. You will be prompted to give permission from your device.
Step 6. Select View & Enjoy!
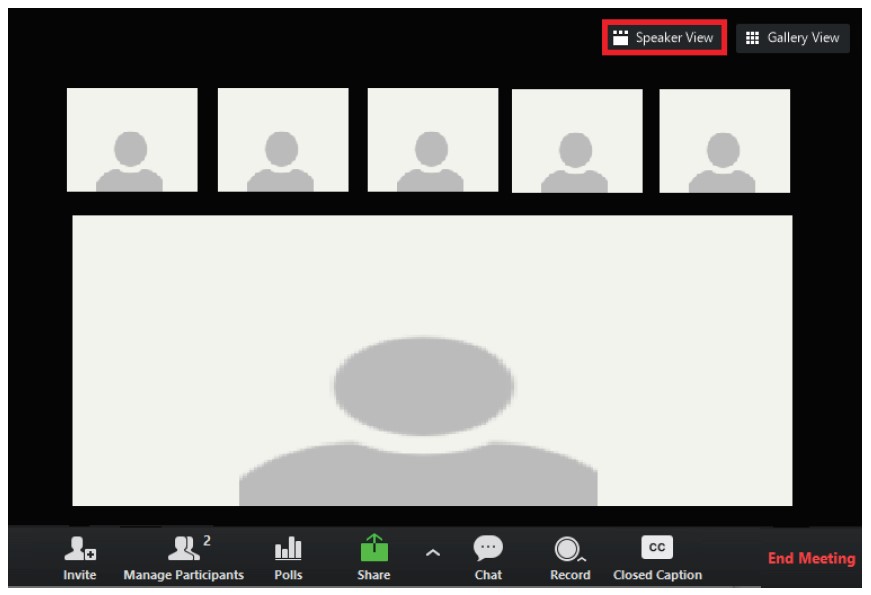
The view you select in Zoom will determine how the video from the instructor and other members are displayed. On each device there will be buttons with options for either speaker view or gallery view.
Speaker view will show you the instructor (or whoever is speaking) in full frame.
Gallery view will show you a collection of smaller boxes filled with other participants.
We recommend using speaker view during the class so you can view the instructor the best!
Troubleshooting Tips
Each of our devices have different settings and permissions needed to effectively run Zoom. We recommend having the Zoom application installed on the device you are using, and to register for a free Zoom account that you can use whenever entering classes.
To troubleshoot issues based on your device, please click here for the most up-to-date advice and instructions.
Overall, the Zoom experience should be similar across devices. However, the location of the menu and the methods for providing access to your microphone and camera will be different.
For computers, you may receive prompts to update your Zoom application. This should be done whenever prompted to ensure you have the latest version of the platform.
On smart phones and tablets most devices have settings enabled to automatically update installed apps. If your device does not have those settings enabled, you will need to visit the app store on your device to accept and install any needed updates.
For additional help on navigating the settings for your device, click here.
As instructor availability changes, we may need to update or remove certain class links. When scheduling or technical difficulties arise, our team will provide timely communications about any cancellations or website issues.
We want to ensure you have an excellent experience using our PhilaYatHome platform! If you should ever have any issues with our website, please submit a message to our contact form.
The way members see our website is slightly different depending on the device you use to interact with our site! This is because we want the experience to be tailored to the screen size which you are using.
If you are having issues with loading the live class schedule on your computer, we suggest maximizing your browser and then refreshing the page. The size of your browser may cause the website to display as if it were a different type of device, which can cause issues for some users.
On a smart phone or tablet, the size of your browser should be full screen by default, but if there are any issues loading the schedule we recommend refreshing the page.
The refresh button will look different depending on your device and web browser, but is typically a circle with an arrow. Via a smart phone or tablet, you can refresh the page by pulling down the page from the top until it reloads. On a computer, you can use the keyboard to refresh by hitting the CTRL and R keys at the same time. For Mac users, refresh using the keyboard by hitting the Command and R keys at the same time.
Should you experience any technical issues with viewing the Live schedule on any device, please let us know via our contact form. When submitting your message, providing the type of device you are using and a screenshot can help us to better resolve any problems.

